Tuesday, July 1, 2014

Treasured Memories Box

Hello everyone!!

I just wanted to do a quick share with you :) and show you the box I altered. My hubby got me this box a couple years ago for mother's day from Walmart and it sat waiting to be altered. Well my hubby everytime he would walk into my room he would say "Soooo when you gonna alter that box??" Finally I did cause I didn't have anything else that was priority lol. I turned it into a "Treasured Memory Box" the inside is like a configuiration box to hold our wedding pics and anything else I feel like belongs in there. This is also my June DT Project for Craftsupplies1...I know I am a little late posting hehe.  So here it is.....


I really challenged myself to do Shabby Chic and not veer off..like I always do..lol. I think it turned out super cute and shabby. The papers really helped me with that too. They are the Prima Princess Collection which absolutely adore:) 
So here is a few more close-ups and as always I will post my video at the end with all the details.


Here is a close-up of the front of the door. Its the top part that was once a picture frame. I used some chicken wire chipboard for the background and some yummy stuff from Craftsupplies1.


This is the bottom half of the front of the door.


this is a close-up of the side of the box I tried to lace up like a corset :)


Here is a distant view :)


And finally the inside of the box...I hung my pictures from Tim Holtz hanger paper clips....so cute..well at least I think so


This is a close-up of the configuration part of it. It was a lot of fun to decorate those little cubbies..also a lot of patience!


Here you can see my pictures hanging and also where I have pulled a few out. Even though you can't really see the hangers.


This is bottom part of the inside that is hidden behind the hangers.


And a picture of the inside without my hanging pictures... I think it turned out super cute and I am proud of myself for really making it shabby chic like I wanted:)


Last but not least here is my video with all the details that is also over on my YouTube channel! 


Thanks for stopping by and comments are always welcome and appreciated :)


Tuesday, June 24, 2014

Candy Drawer Yummies!!

Hello everyone!!

I just wanted to share with you a candy drawer that I made for a swap with my sweet friend Becky Long. I have never done one of these before and it was a lot of fun! I am glad she suggested it.


This is also a DT project for Craftsupplies1! I did use a lot of yummy stuff from the store as well as from my stash. I even crocheted :D 
I only have a couple of pics to share with you so here they are...


Close-ups of what I put inside :) Be sure to check out Craftsupplies1 for some yummy goodies you can put inside these fun drawers.

Here is my YouTube video with all the details..


Thanks for stopping by and don't forget to visit the store!! 


Tuesday, June 10, 2014

Vintage Shabby Chic Stick-pin Book

Hello everyone!!

I just wanted to do a quick share of my Shabby Chic Stickpin book that I made. It is totally inspired by Faythchik777's tutorial on YouTube (love her work!). I love to make stickpins, it's just sooo relaxing!! Anyways...I followed her tutorial and another one I found on Pinterest and came up with this:


The flowers and doilies are from Craftsupplies1, as well as some of the laces. I have a complete explaination video that is on my YouTube channel below, if your interested. 


Here is a close-up of the flowers, I sprayed them with my Lindy's Stamp Gang sprays. Love how they turned out!! 


Here is the back I used my modeling paste and Art Is Stencil (just like Linda did) and some texture paint to make it appear more soft.


Here is a picture of the side view with the ruffly trim :)


Here is some pictures of the inside with all the stickpins I made :)


Here is a close-up of the doily I attached to the corner with a little string bow. The doily is from Craftsupplies1...she sells a lot of them now and they are soooo gorgeous!


Here is a picture of the front inside cover with the little pocket I made to hold tags. Here you can also see the vintage lace I used to cover the whole inside of the book.


Here is a picture of the tags I made to go in the pockets one I used for empty stickpins and the other is just for prettiness! :D

And finally here is my YouTube video with all the details


Thanks for stopping by and comments are always welcome!! :D

Sunday, June 1, 2014

Mixed Media Hearts


Hello everyone!!

I am excited to share my Media Hearts with you guys. It is a DT Project for Craftsupplies1 on Zibbet and I think they turned out so cute and I love the colors. It is for a friend so I hope she will love it too! 

Let me show you a full view picture of them


I used some wood hearts that my son got me from school and I used trim and buttons around the edge that is from Craftsupplies1. All the product links will be listed below from Craftsupplies1. 

This project was inspired by my friend Marla Rizzo she sent me a mixed media frame that she made with buttons as the background and it was beautiful so I decided to try. Although I didn't have enough buttons I just added some other junk and goodies from my stash to fill the gaps :) 

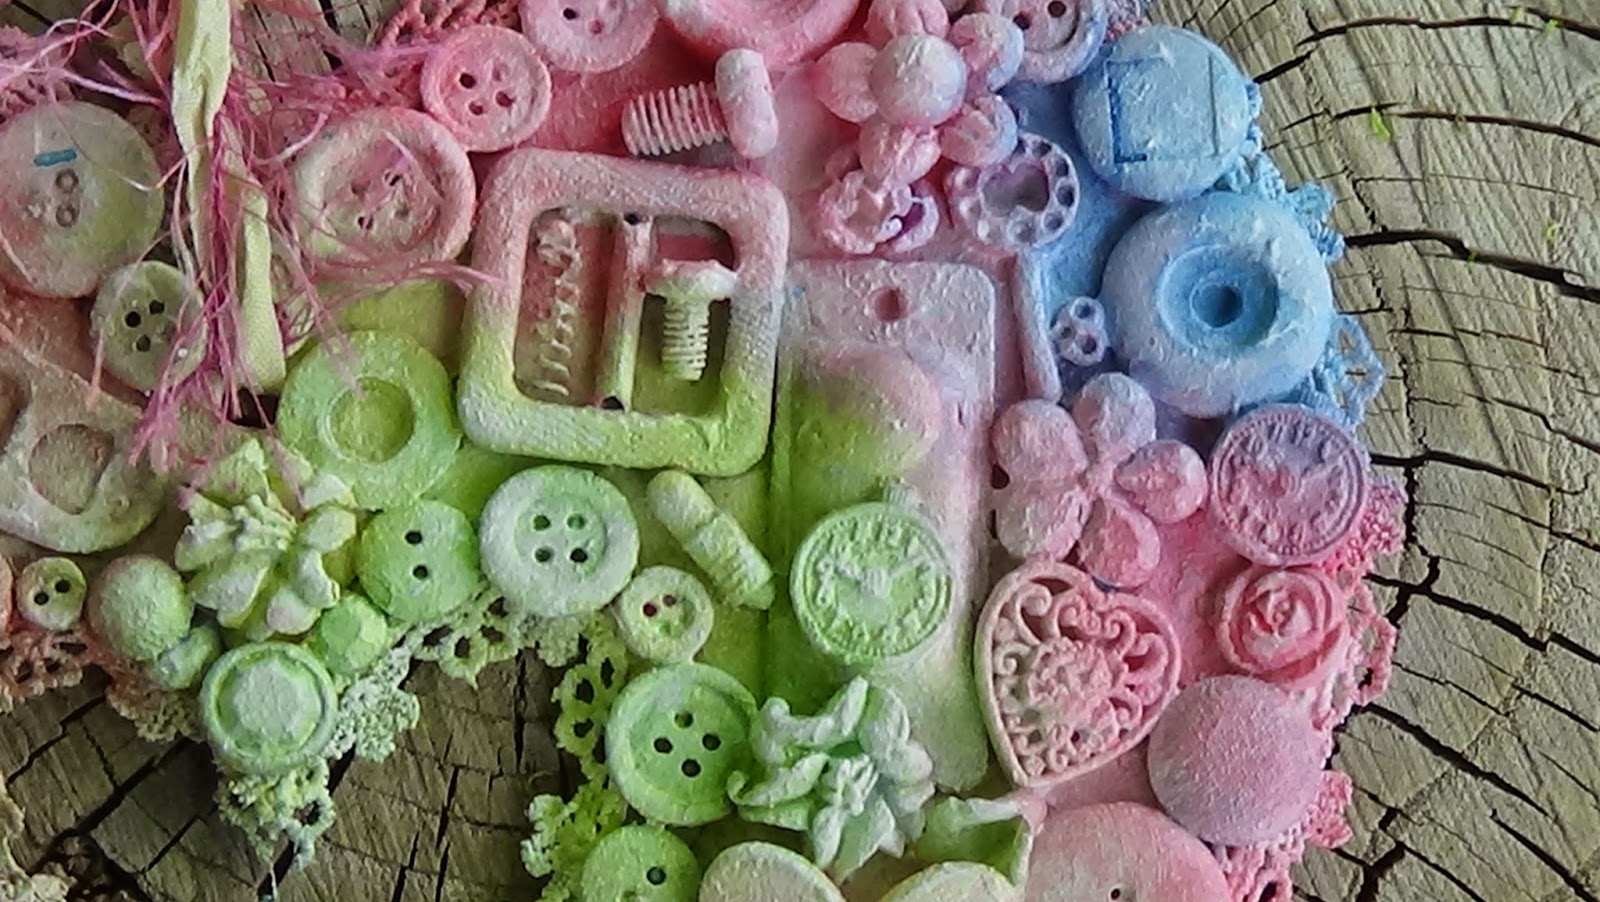
Here are a few close ups
of the top heart.


And here is some close ups of the bottom heart 


Just love the colors and how they turned out :) 
There is a start to finish video below feel free to check out.

Here is a list of all the goodies I used from Craftsupplies1


And last but not least here is my start to finish YouTube video


Thanks for stopping by!! Comments are always welcome :)

Monday, May 26, 2014

Adore You Layout

Hello everyone!

Today I want to share with you a layout I did for a DT Project for Craftsupplies1 and I would also like to enter this LO in the Once Upon A Sketch May challenge.

Here is a link to the challenge...you still have time to enter:

Here is a picture of the sketch for the May Challenge:


Here is a full view picture of my LO using this sketch:
My journaling for this month's theme is behind my picture on the tag.


I used some Lindy's Stamp Gang Sprays, a few Gelatos and modeling past for the background colors and texture.


Here is a close-up of all the goodies I used around my picture.
The lace and flower trim is from Craftsupples1 as well as the beaded trim. I put gesso over the lace and then sprayed them with my Lindy's Sprays. There is some Prima flowers and I also used the new parchment paper flowers from Craftsupplies1. They are gorgeous big roses as well as rosebuds that are just beautiful.The beautiful doilies are from Craftsupplies1 also. 

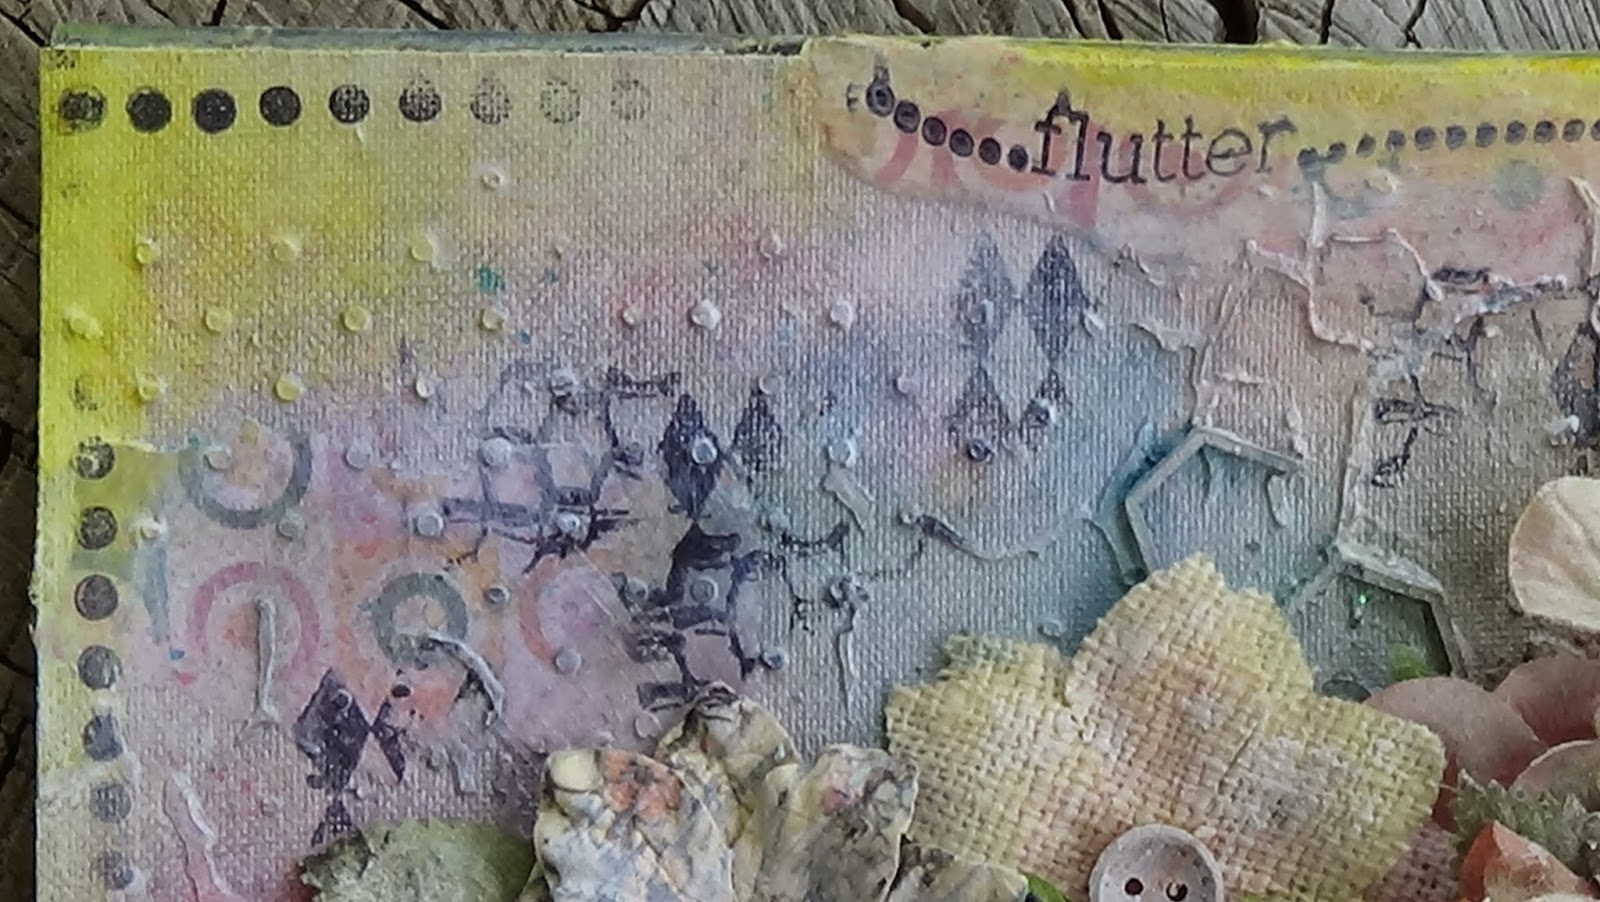
Here is a few more close-ups of the LO:


There is also more details on how I did this LO in the start-to-finish video I posted below. I hope you will check it out :)


Thanks for stopping by and I hope you are all enjoying your Memorial Day Weekend :)

Tuesday, May 13, 2014

DT Project for Craftsupplies1

Hello everyone!!

I just wanted to share with you guys a dresser that I altered from Sa Crafters. One of my friends sent me this dresser and I was dying to get it all dressed up..lol! I want to put some of my little stamps that I don't use very often in this cause they just lay there on my shelf taking up room :)


I used the Prima Romance Novel...again..lol! 
All of the flowers are from Craftsupplies1 along with the trims and laces.
The picture from is from Michaels and I used a portrait from the Prima Delight papers.
The metal butterfly is also from Craftsupplies1.

Here is a close-up of the front.


Here is one of the side views. The butterfly filigree is from the shop and I messed around with some of my Lindy's sprays and acrylic paints to get the color.


Here is the back side of the frame that is sitting on top I put some doilies from the shop on the back of the frame and under the flowers as well.


And here is pic of the whole backside...I used my stencils with some modeling paste and some texture paint to soften it up.


Here is the other side view. Here I wanted gears and clocks so I used my clock stencil with some modeling paste and a chipboard clock, metal and chipboard.gears from my stash There is also some clock charms from the shop as well.


And last but not least here is a close-up of the top with all the beautiful flowers from the shop. I also have another doily under the flowers. They are my new fav!!


If you want more details on what I did here is the video that is over on my YouTube channel


Thanks for stopping by...comments are always welcome!! :)

Friday, May 9, 2014

Remember To Live Your Dreams

Hello everyone!!
I am super excited to share with you the mixed media canvas I created for my daughter for her 13th birthday present. I did it as a reminder to her to always live her dreams....hence the title and little license plate. I also used the window with the decorative plate over it to represent nothing holding her back. Also while I was creating it I decided to do my first start to finish process video. I think both the canvas and video turned out better than I had hoped for. I was originally creating this for the Lindy's Stamp Gang April Color challenge but my life decided to get in the way a little bit. Anyways...here is a photo of the canvas....


I used some trims from Lavish Laces and Craftsupplies1. The metal hearts are from MooreArtFromTheHeart Artfire Store. The flowers are mostly Prima with a few from Craftsupplies1, like the pink rose buds. There is random metal embellies from Prima and the chipboard hinge and window are from Gina's Designs. The number 13 plaque and gears under the license plate are from Sa Crafters. The sprays I used from Lindy's Stamp Gang are Ramblin Rose Pink, Edelweiss Moss Green, Blue Hawaiin Blue, Wake Me Up Before You Go Gold, and Cocoa Bean Copper. 

Here a few close-ups of the texture and colors :)


And here is my first start to finish video...I am pretty excited it turned out better than I thought it was going to :) 


Thanks for stopping by and comments are always welcome :)